Introduction
In my earlier blogs, TeamForge for Gerrit and GitEye and Interactive Rebase, I showed you the basics of using Gerrit with TeamForge and GitEye. I also delved into using interactive rebase to squash multiple commits into one so that you can push to Gerrit, creating a single Gerrit change. In this follow up blog I will give you some tips on managing Gerrit dependencies.
Pushing Multiple Commits to Gerrit
In my blog GitEye and Interactive Rebase I showed you what to do if you have made multiple commits and now you want to create a single Gerrit change that combines them. Let’s suppose, on the other hand, that I have made multiple commits and now I want a Gerrit change for each of them. For example, suppose I want the last three commits shown in the screenshot below to be reviewed separately.

Assuming each of my commits has a unique Gerrit Change-Id, as will be the case if my repository has been configured for Gerrit as described in my TeamForge for Gerrit blog, then this is very simple. All I have to do is right-click on the repository and select Push to Gerrit… from the context menu.

When I click Finish, it will be clear in my Push Results that three separate changes have been created.

In the CollabNet Sites view, I can see these under All open changes.

If I double-click on these changes to open them in GitEye’s rich Gerrit change editor, I can see that not only has Gerrit created three separate changes, but it has also created dependencies between them.
Change 15 (Create a foobar) is dependent on Change 14 (Create a bar)

Change 14 (Create a bar) is dependent on Change 13 (Create a foo)

Let’s see what happens if we fetch change 15 from Gerrit and checkout a local branch.

When I click Finish I will see that my new branch includes not only the change 15 commit, but the change 14 and change 13 commits as well.

The dependencies between the changes will prevent Gerrit from trying to merge a change before its predecessor change has been merged. Let’s see what happens if change 14 is approved and submitted before change 13, which it depends on.

After I click OK, I will find that the status is now SUBMITTED but the change has not been merged into the Git repository.
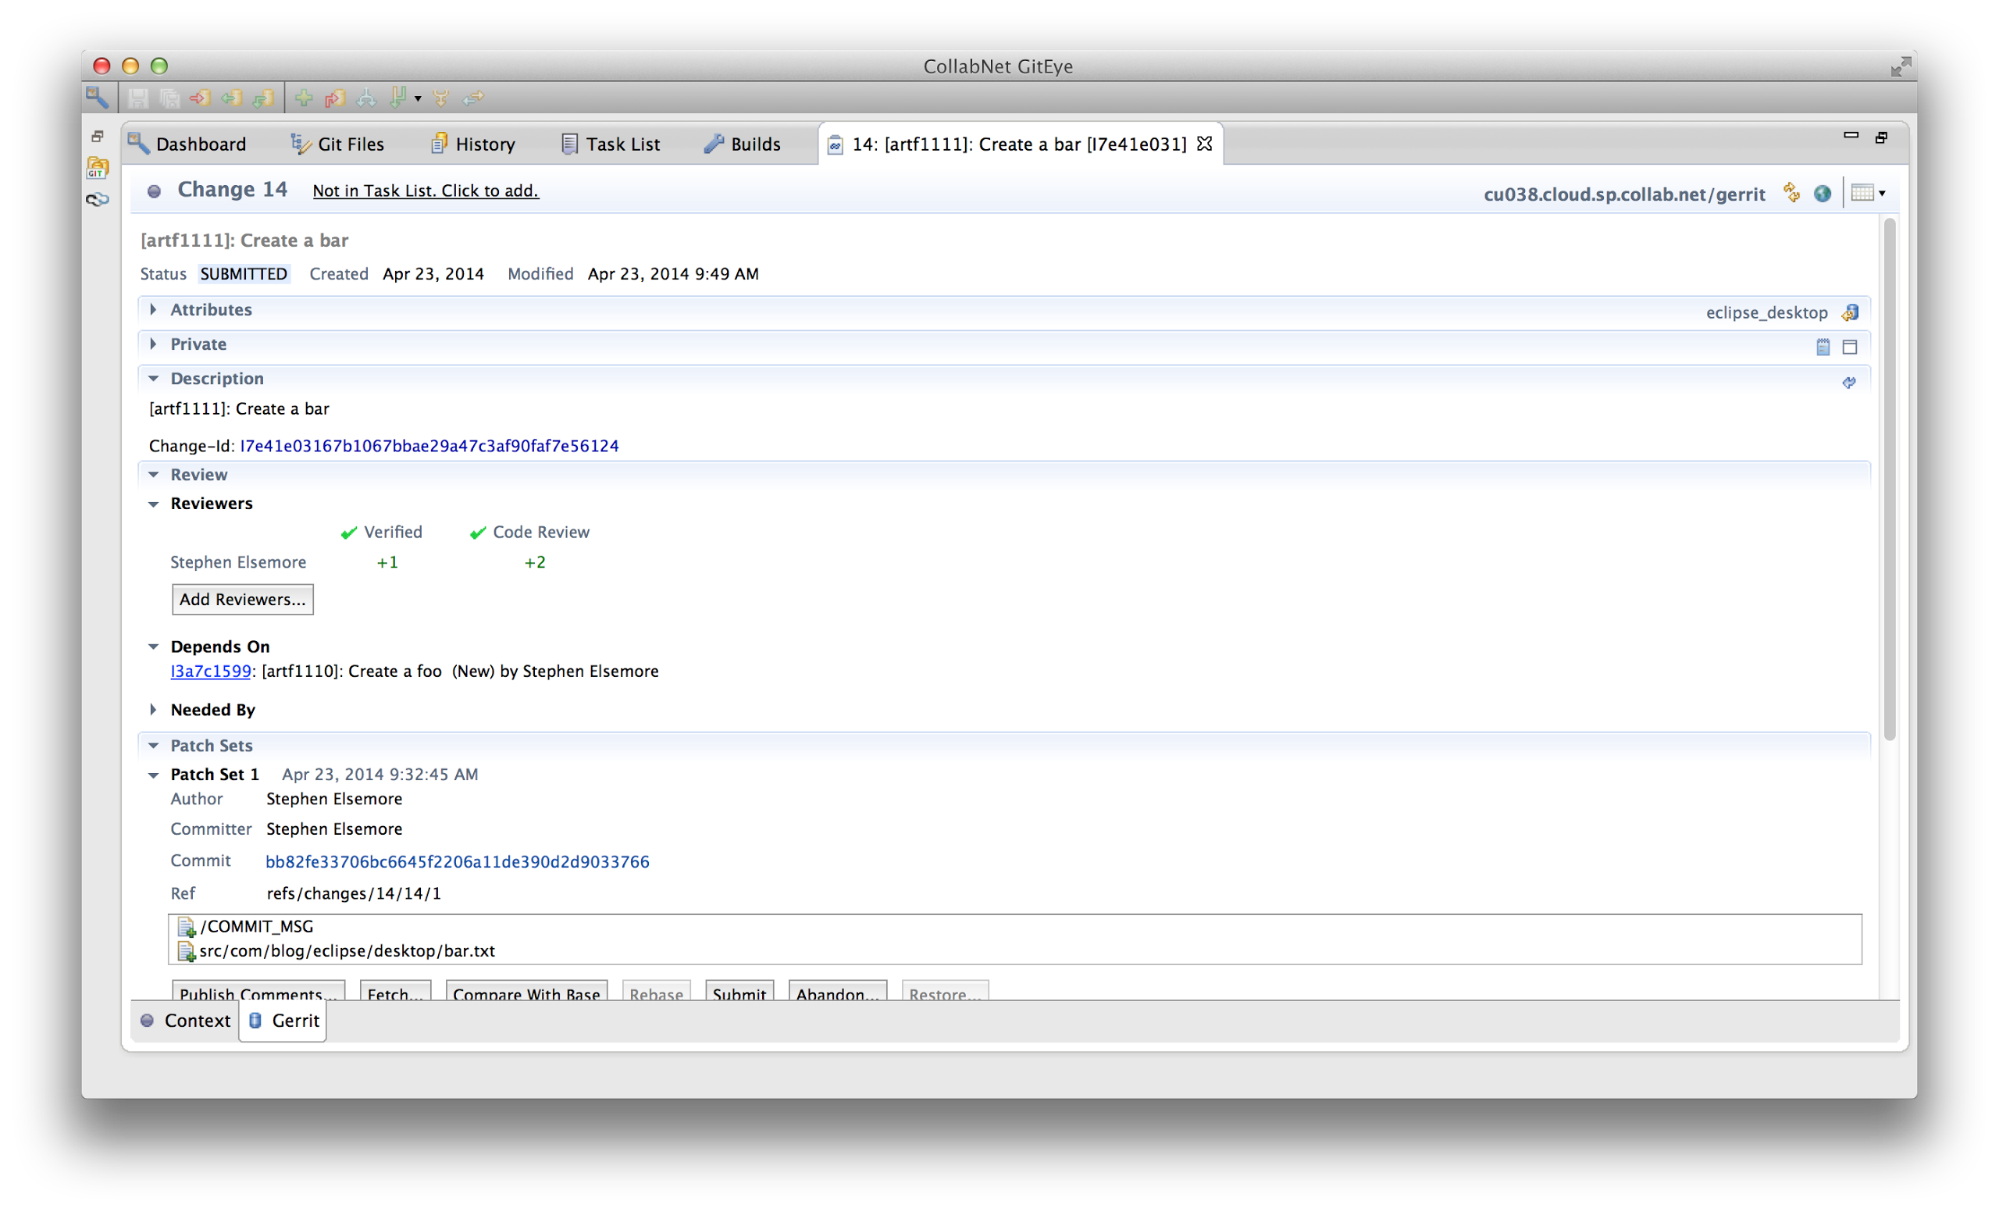
Now let’s approve and submit change 13.

When I click OK, I will see that the change has been merged.

Change 14 was previously submitted, but not merged because it was dependent on change 13. If I look at it again now I will see that submitting change 13 caused change 14 to be merged as well.

Unlike change 14, change 15 has not been previously approved and submitted, so submitting change 13 had no effect on it. I can go ahead and approve and submit it now that its dependencies have been merged.
Submit Change

Change Merged

Basing Your Work on a Commit that is Under Review
Suppose now that I want to start new work that is based on a commit that is already under review. Let’s assume that the Gerrit change I want to base my work on is the one shown under All open changes in the following screenshot. Let’s also assume that I am doing my work to satisfy the TeamForge user story described in artifact artf1114, shown under Open artifacts in the screenshot.

I will start by fetching the Gerrit change and checking out a local branch based on that change. I right-click on the repository and select Fetch from Gerrit… from the context menu.

I click Control+Space in the Change field of the Fetch a change from Gerrit dialog and select the change that I want from the dropdown. I change the branch name to my artifact ID.

When I click Finish, I am working on the new local branch with the Gerrit change.
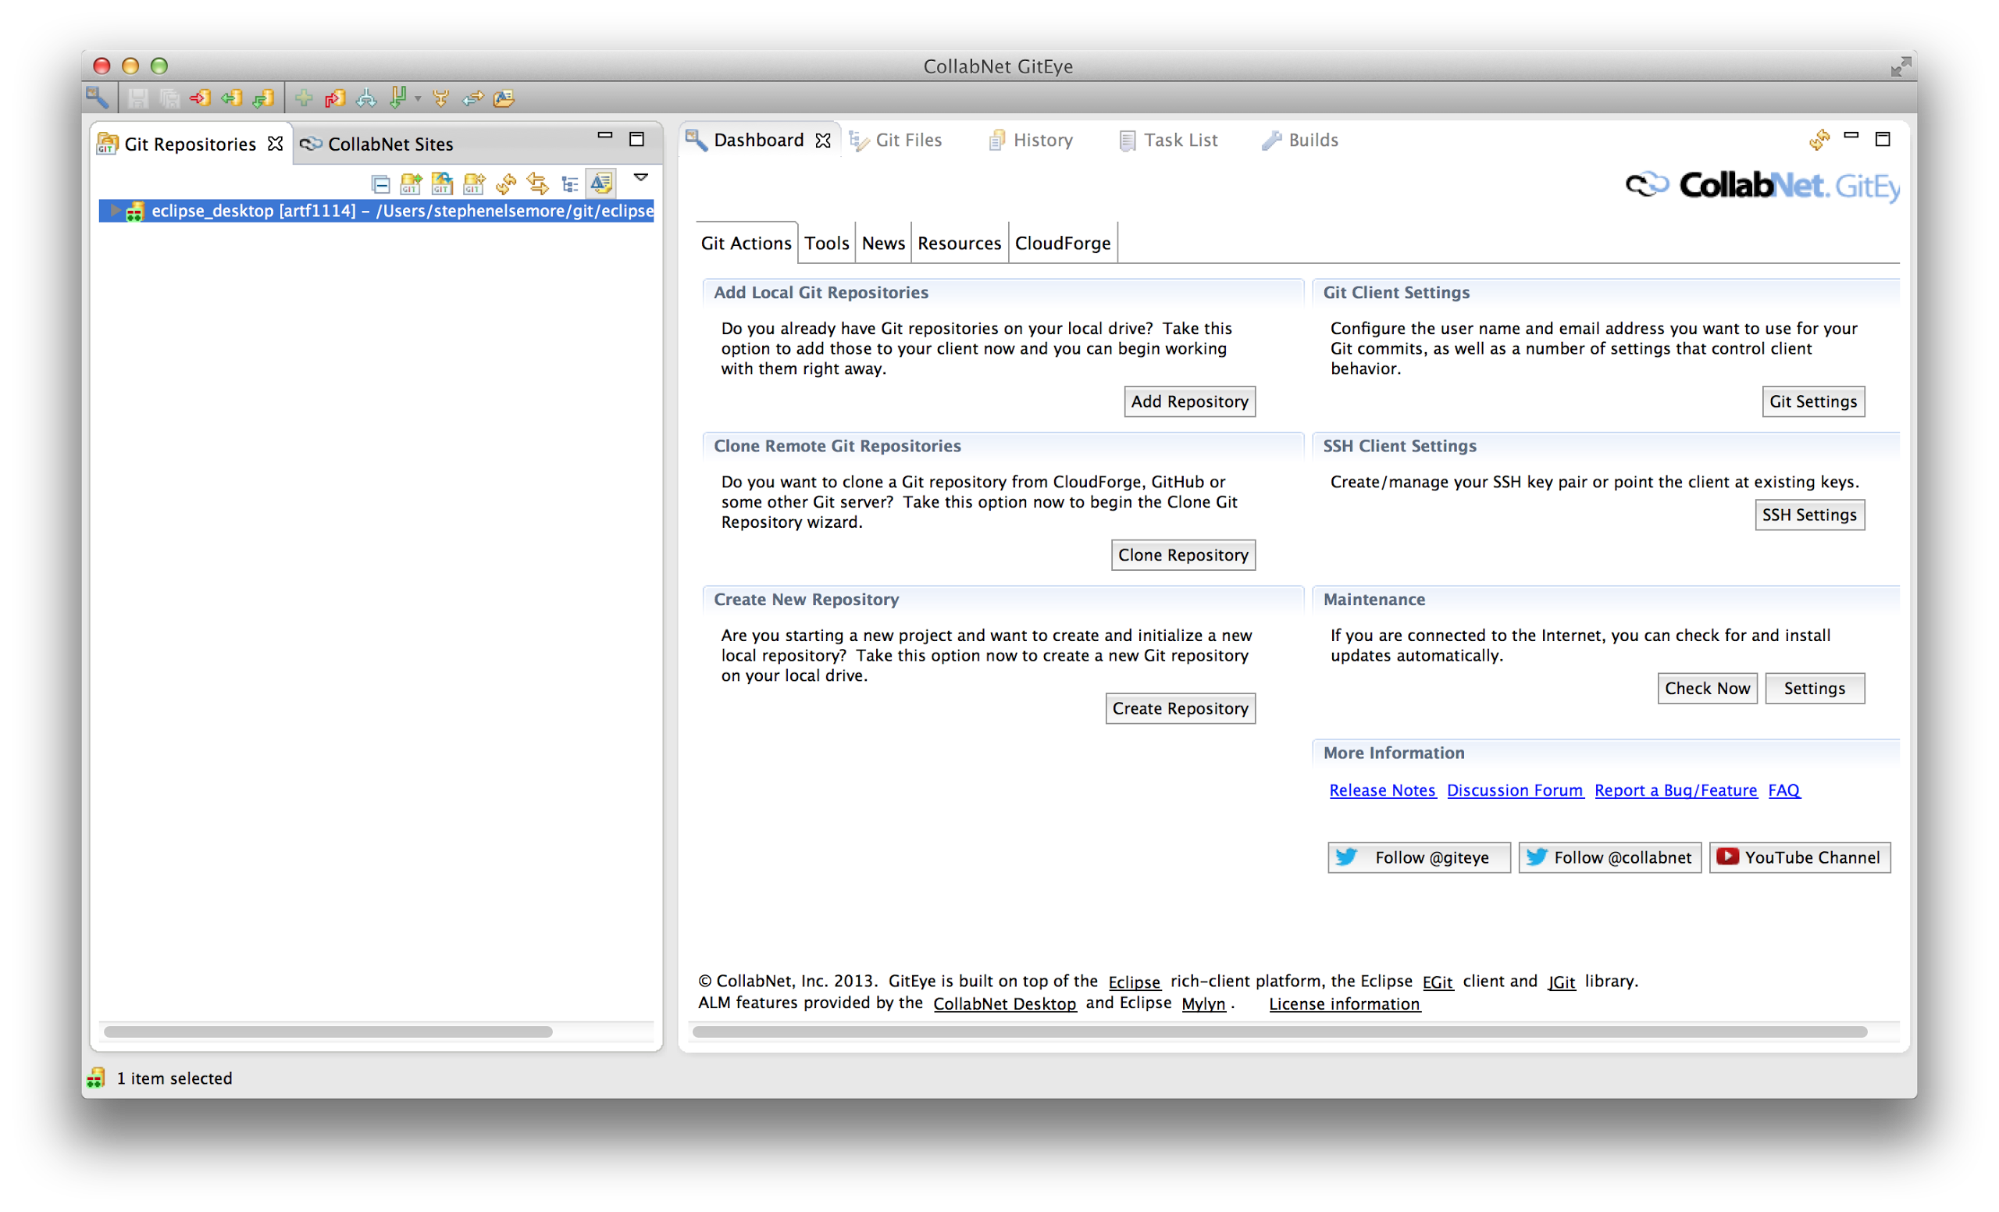
When I finish coding, I commit my work.

I do not want to add a patch set to the Gerrit change on which my work is based. If I wanted to do this, I would replace the I0000000000000000000000000000000000000000 change-id with the change-id of that change. Instead, I leave the change-id as it is and click Commit and Push. Because the repository has been configured for Gerrit, my commit is pushed to refs/for/master and a new Gerrit change is created.
As you can see in the change editor, which I have opened, the new change is dependent on the original change upon which my work was based.

Rebasing Onto an Updated Parent Branch
What happens if the commit upon which I based my work is updated? In the following screenshot, notice that a second patch set has been added to the change from which I created my branch.
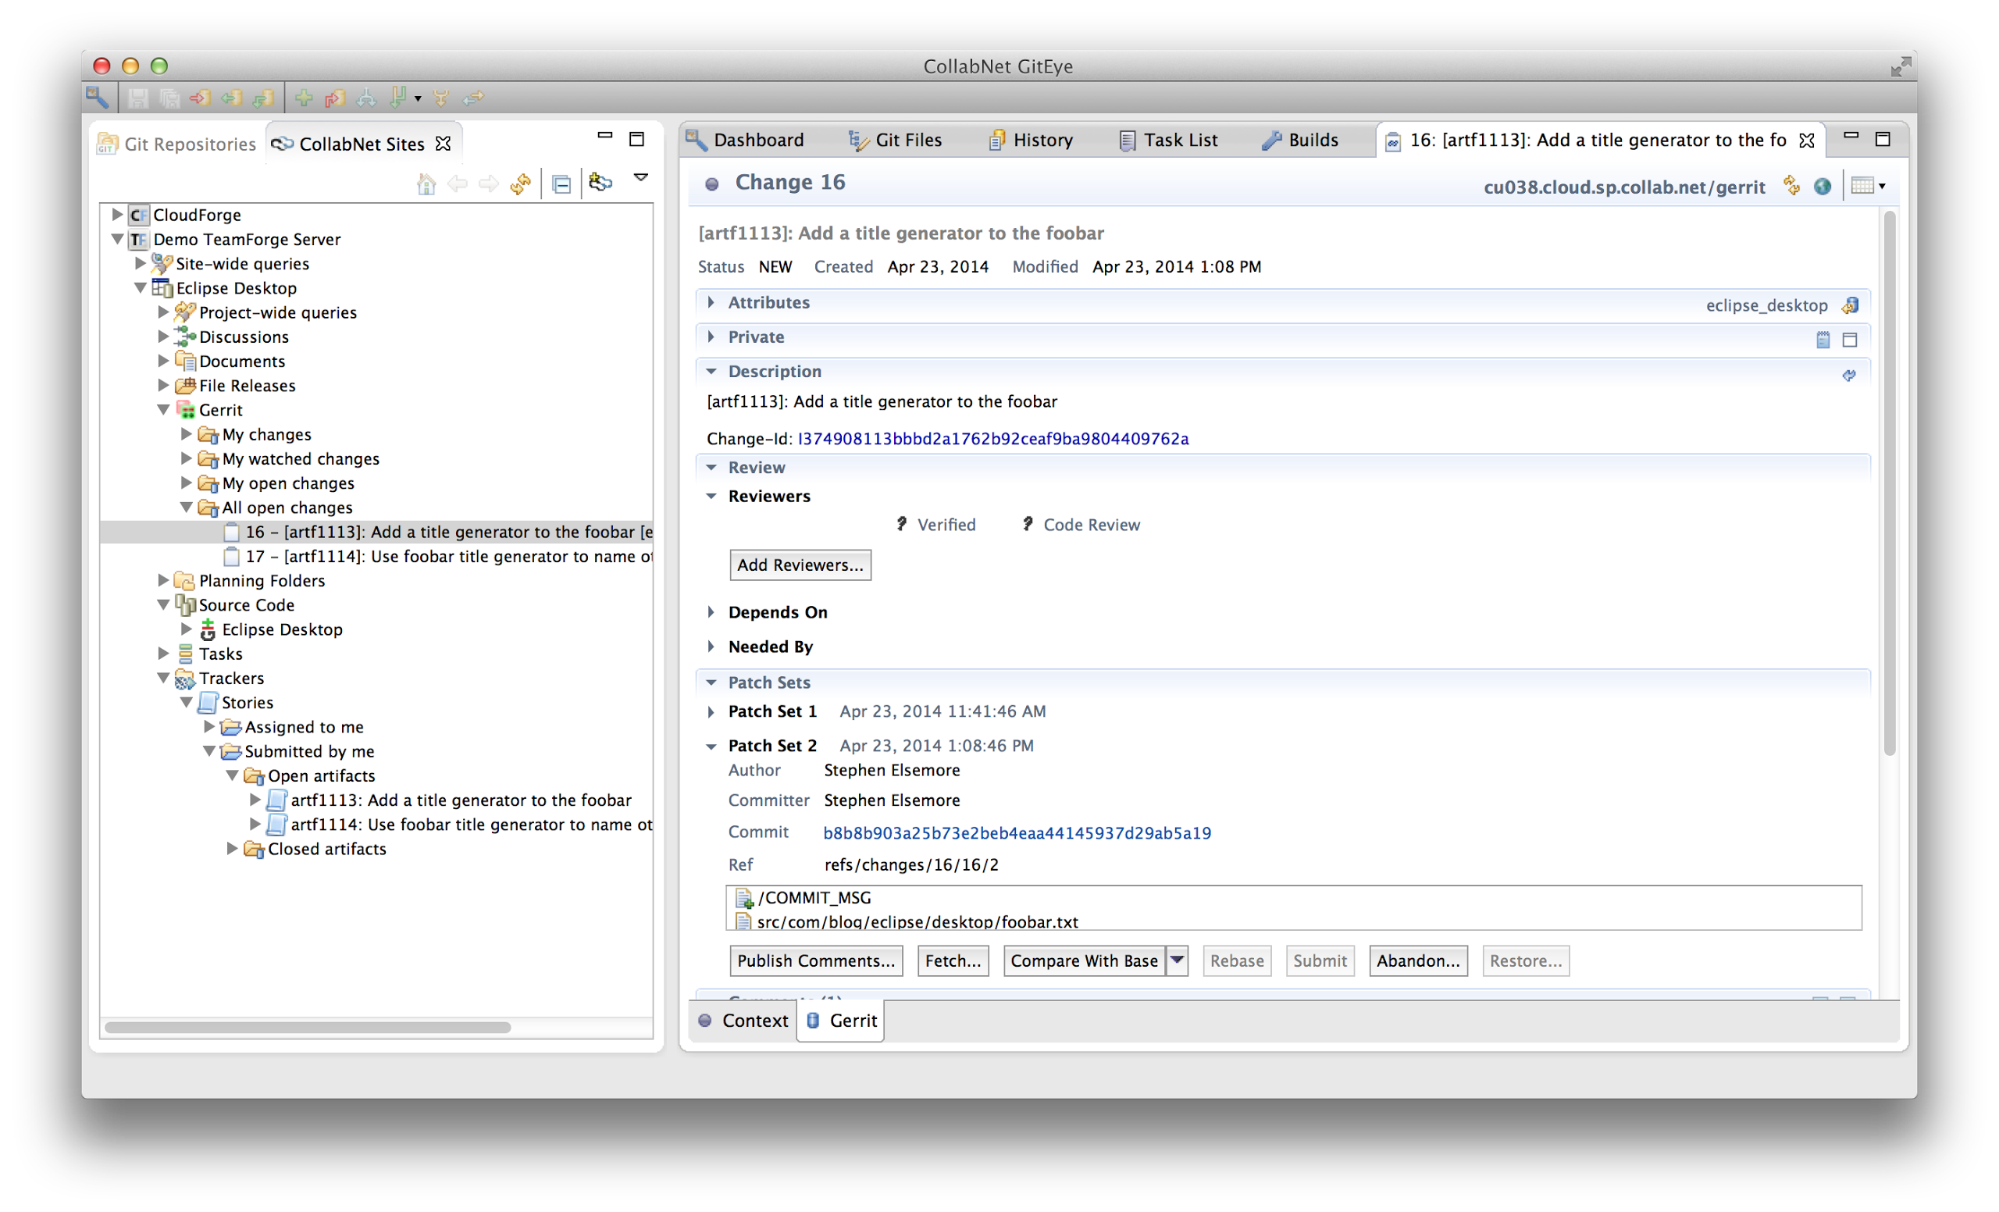
The first thing I need to do is to fetch and checkout the updated parent change.

Having fetched the parent change, I now switch back to the branch in which I have been working.

Having switched back to my working branch, I now right-click on the repository and select Rebase… from the context menu.

In the Rebase dialog, I expand Local and select the updated parent branch.

When I click Rebase I see that there is a conflict.

I leave Start Merge Tool to resolve conflicts selected and click OK.

I leave Use HEAD selected and click OK. The compare editor opens and I can see what changed in the second patch set of the parent change.

I can also tell by the label decoration of the repository that an interactive rebase is in progress. I now select the Git Files tab on the right side of the GitEye window.

I click the Amend Previous Commit icon (first icon above the commit message).

As you can see, the foobar.txt file is decorated by an icon indicating that it has a conflict. I will right-click on it and select Open Workspace Version in the context menu.
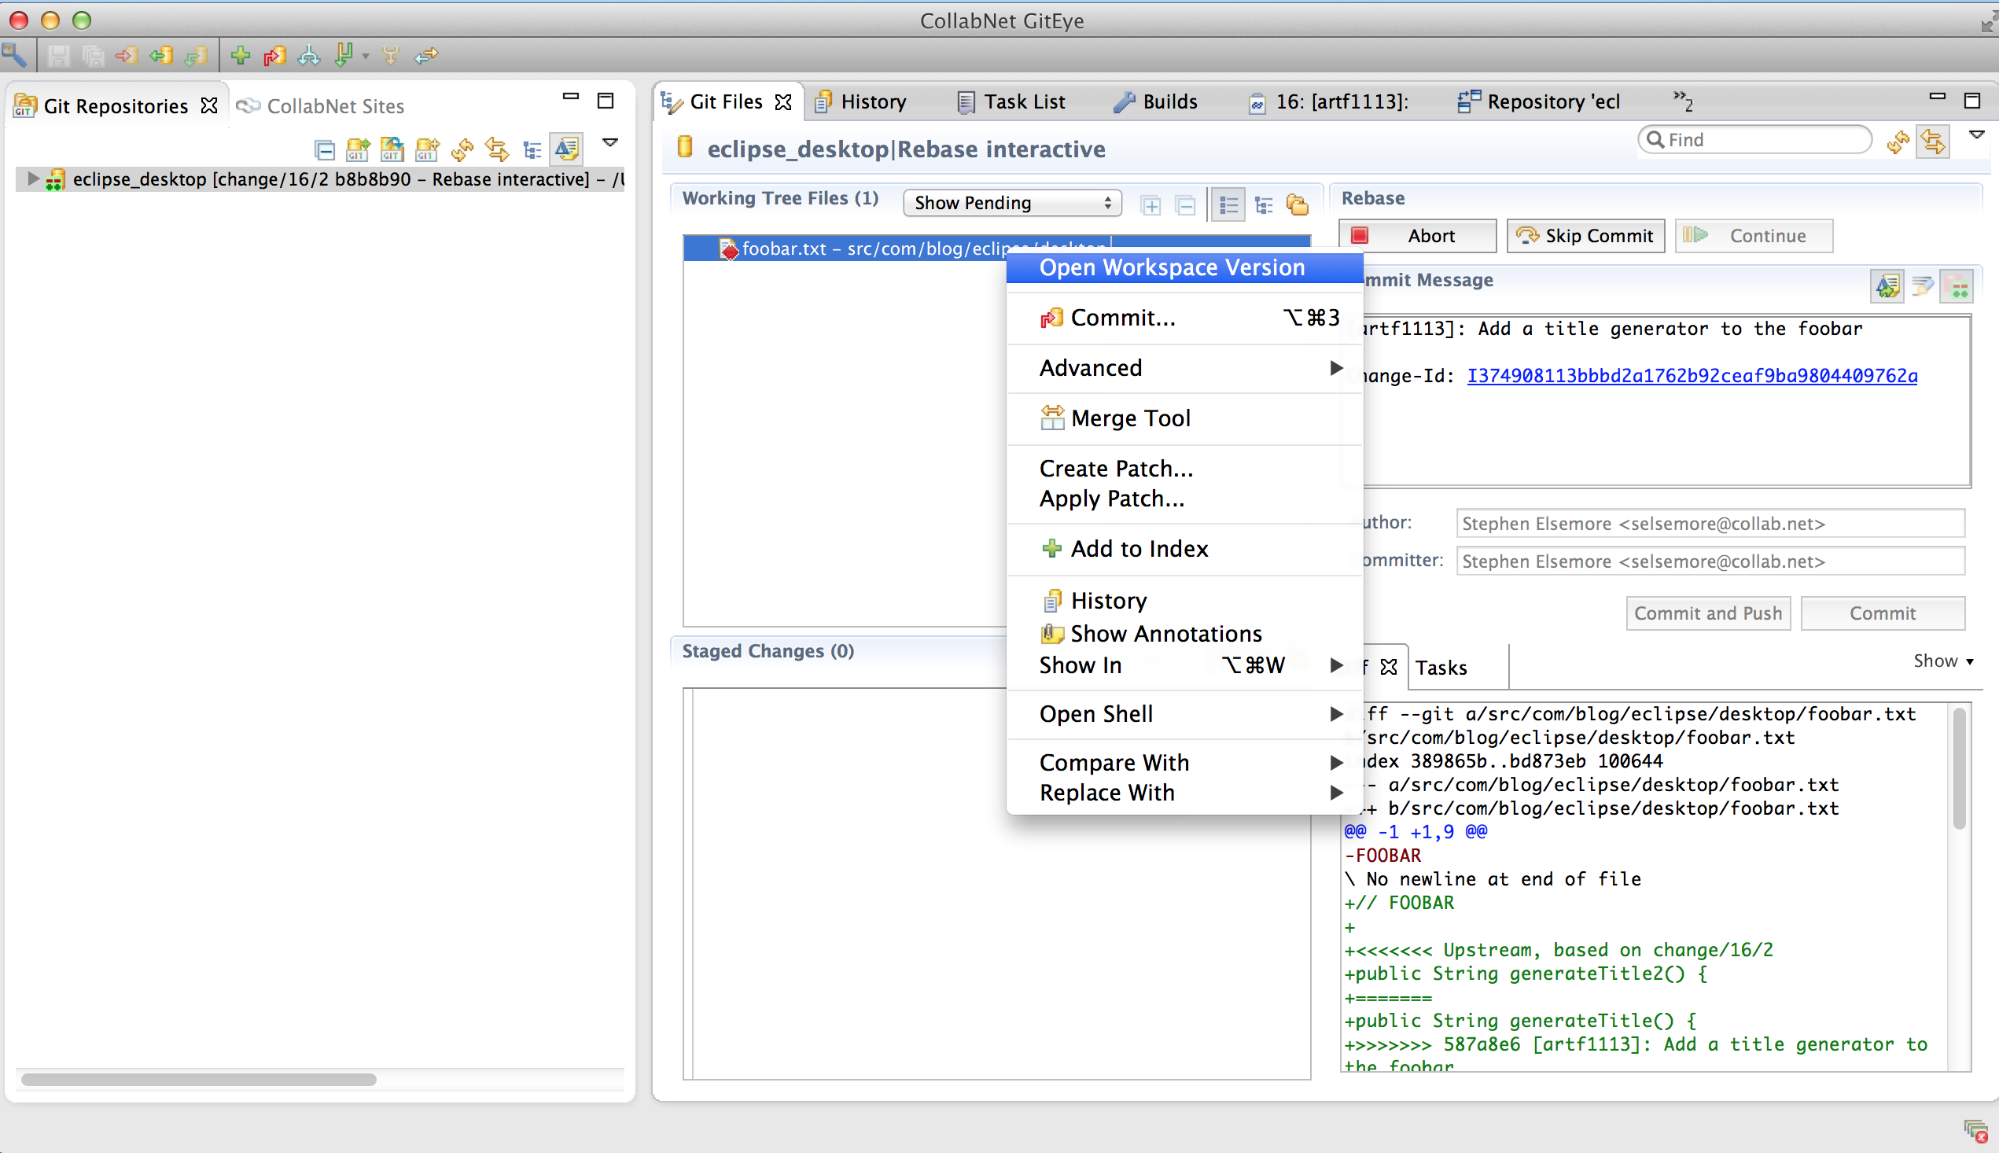
This will open the file in an editor where I can remove the conflict markups and make whatever other changes I need to make to prepare the file for commit.
When I am satisfied, and have saved my changes, I stage my change. I can do this either by right-clicking it and selecting Add to Index from the context menu, or by dragging it from the Working Tree Files section to the Staged Changes section.
 When the change is staged, the conflict is resolved. I now click Continue.
Note
If I had needed to change additional files because of the update that was made to the parent change (for example, perhaps a method signature changed and I need to change the callers), then those files would also have appeared in the Working Tree Files section and I would have dragged them to the Staged Changes section as well.
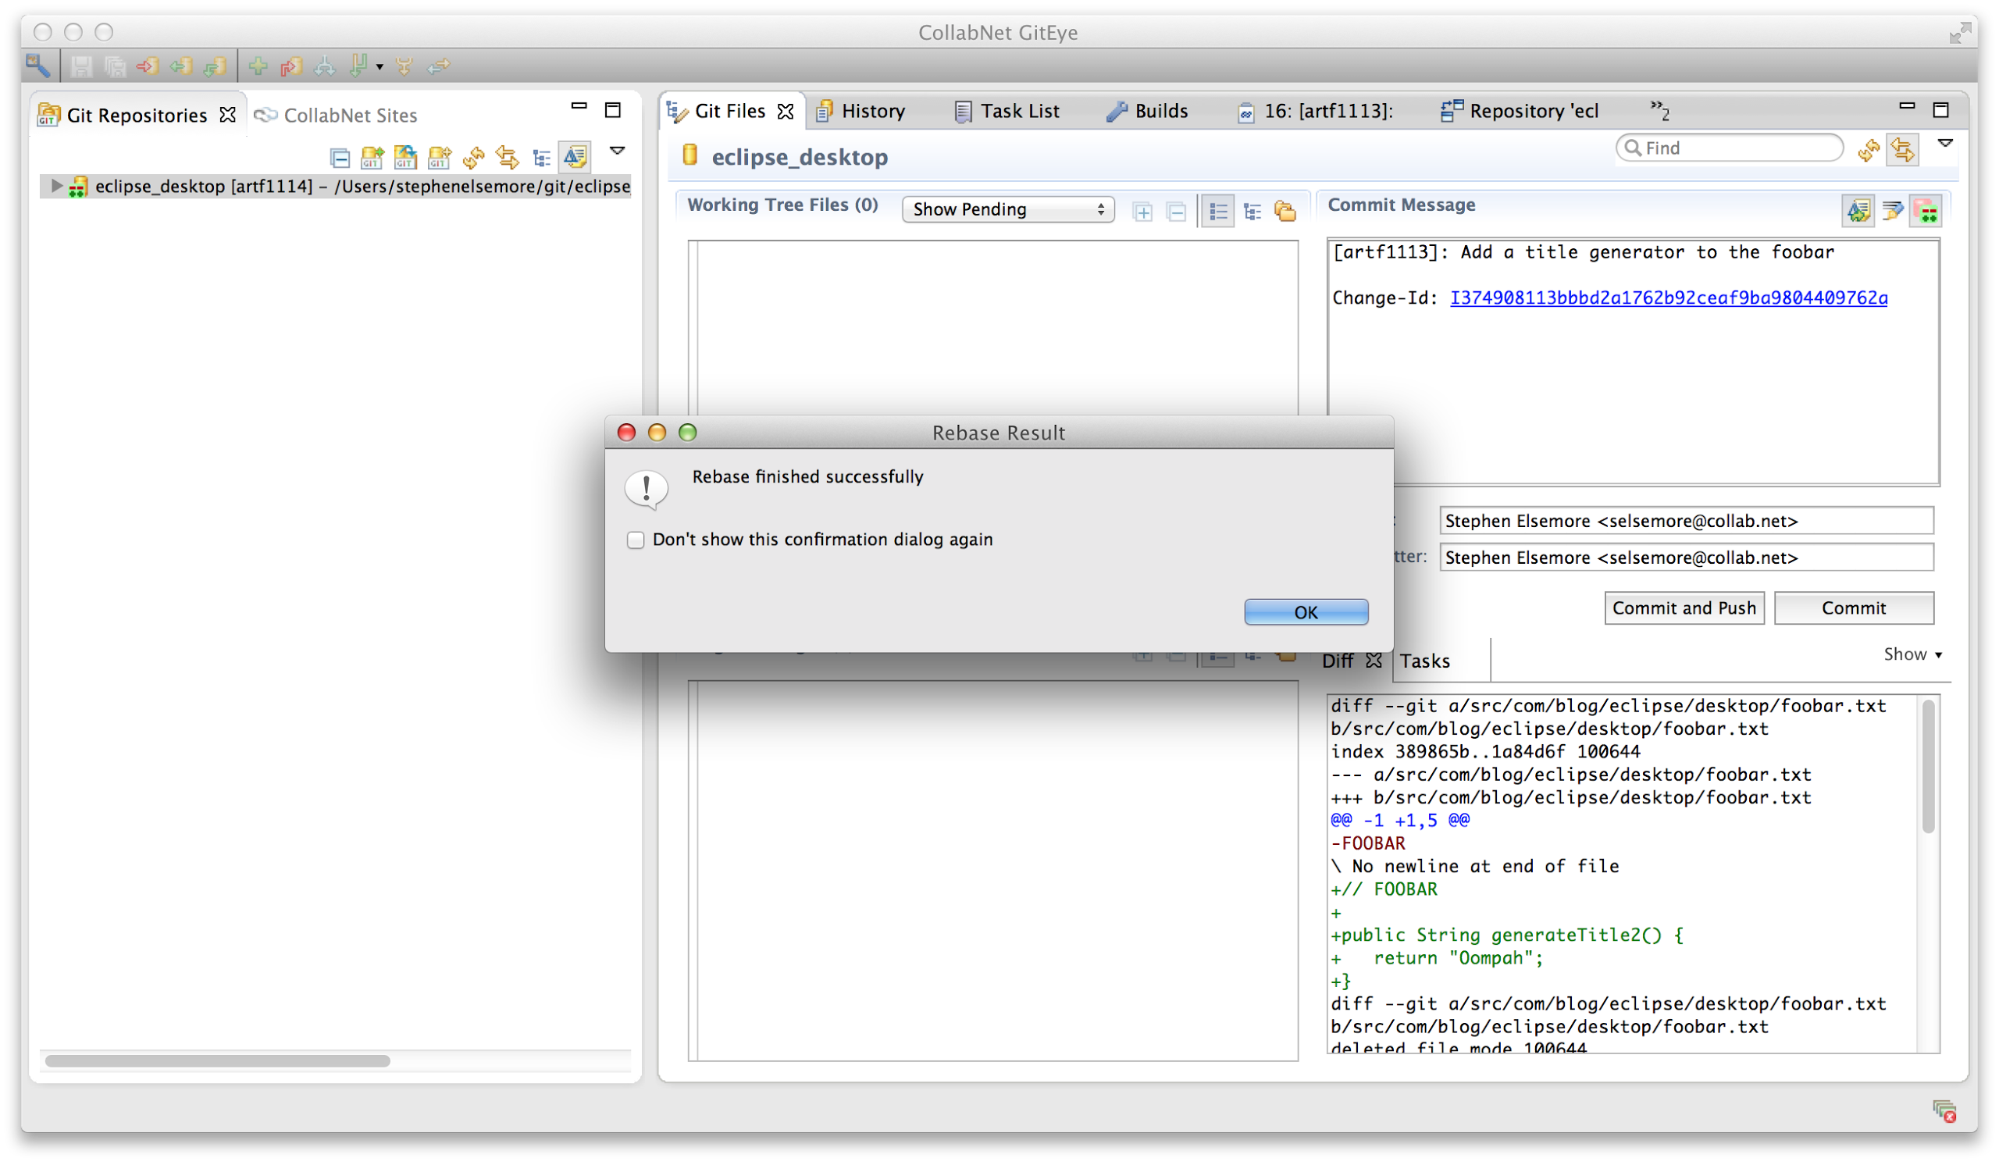
When the rebase is finished, I will open the History view, right-click on the commit associated with the parent Gerrit change, and select Rebase Interactive from the context menu.

If you are interested in better understanding the interactive rebase editor, you might read my blog GitEye and Interactive Rebase. I only want to push the second commit, so I will select the first one and click the Skip button. As you can see above, the Action column indicates my choice. I now click Start.

I am ready to push my commit, now based on the updated parent change, to Gerrit.

After pushing to Gerrit, I can open my change in the editor again and see that a second patch set has been created.
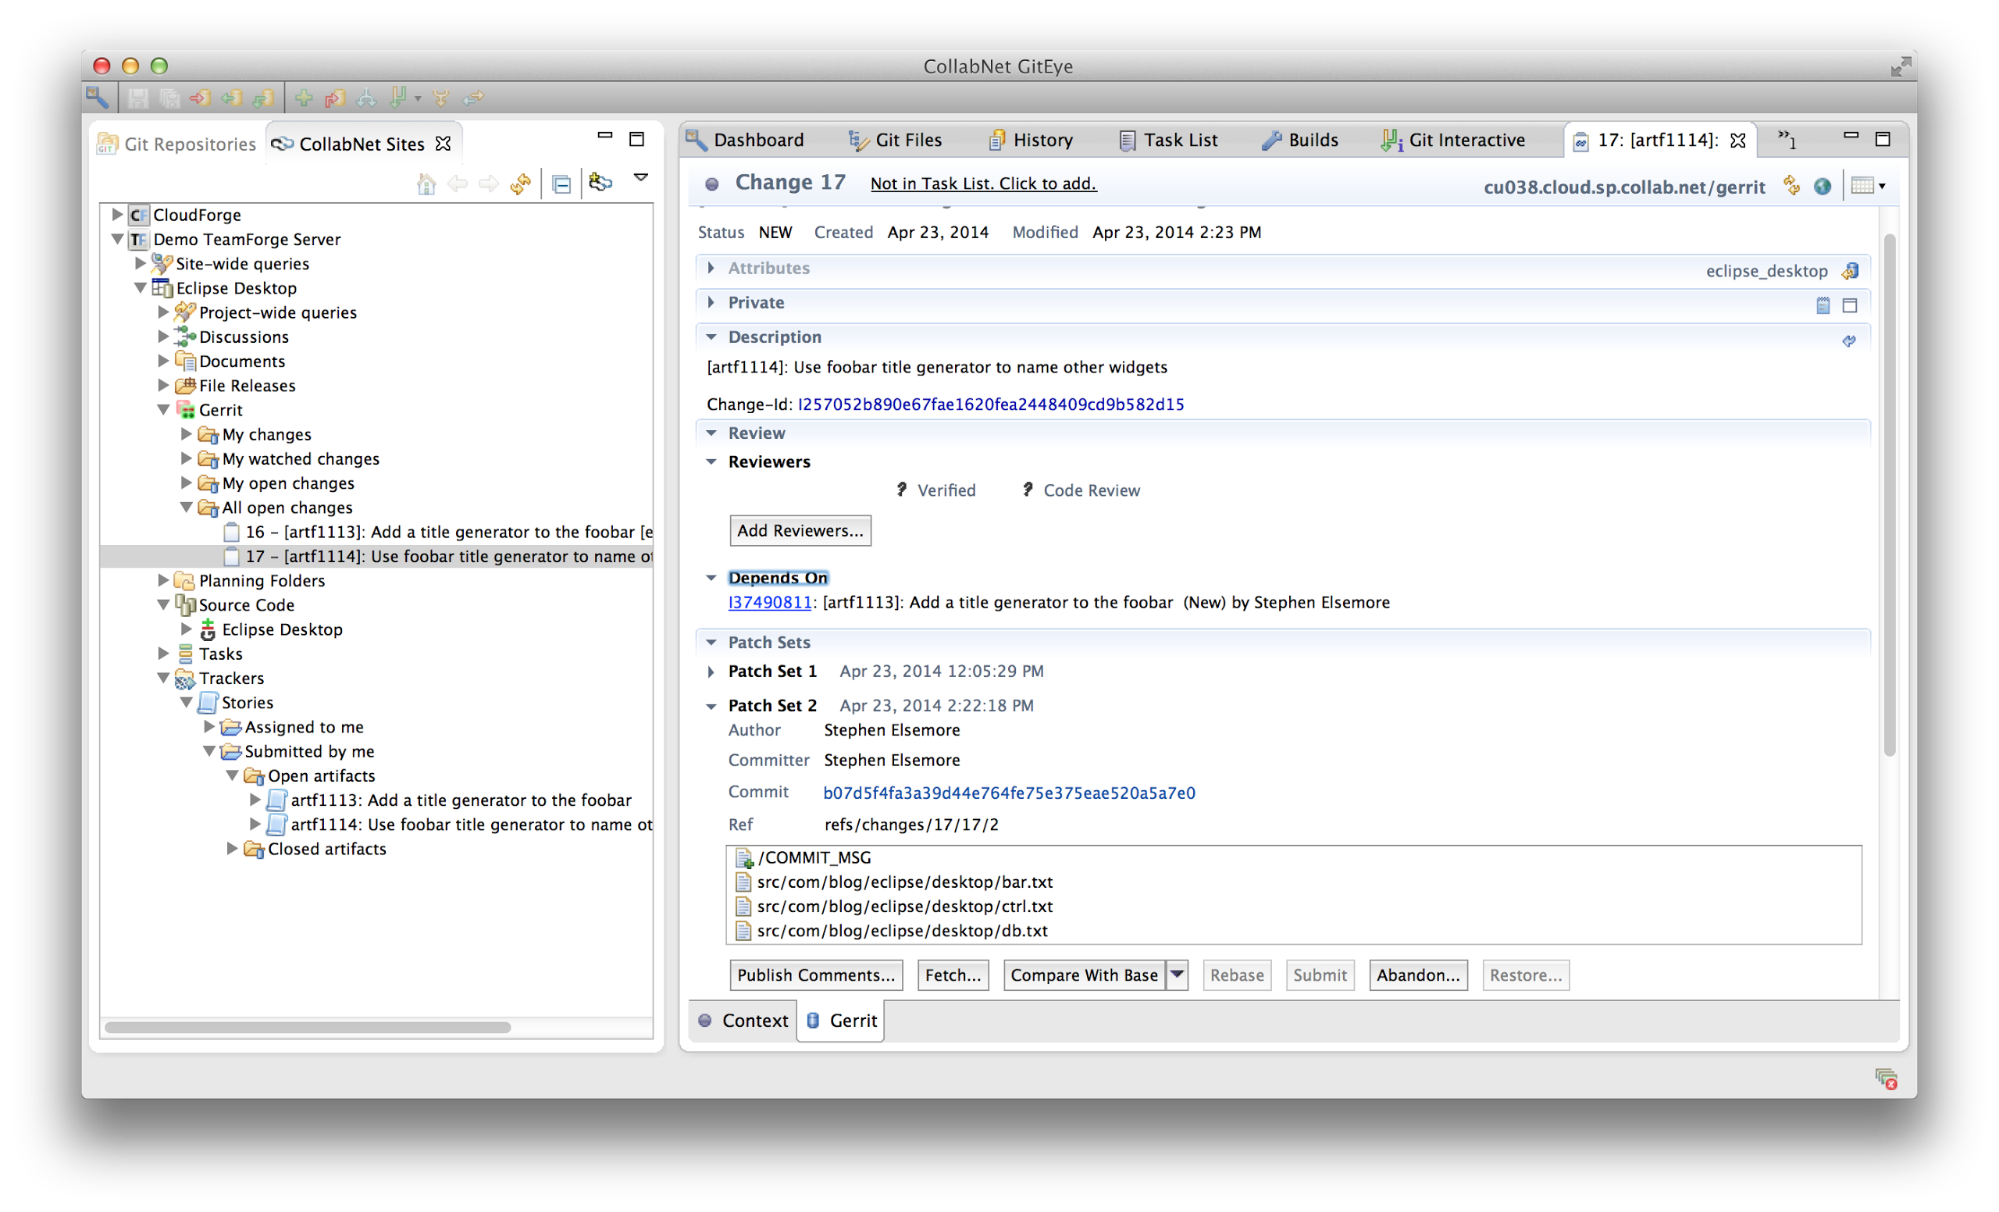
If someone now fetches my second patch set from Gerrit, they will now also get the second patch set of the change on which my change depends.
Whew.
There’s no denying that this is a somewhat painful process. I try to avoid starting work that is dependent upon unmerged Gerrit changes, but sometimes there is simply no avoiding it.
Conclusion
I certainly haven’t provided you with a user’s manual that tells you how to find your way out of every possible Gerrit dependency corner you can manage to paint yourself into, but hopefully I’ve given you a feel for the tools that you will use to do so. I’ll close by reminding you that you can always abort an interactive rebase that is in progress. Just right-click on the repository and select Rebase > Abort from the context menu and everything will be rolled back to the way it was when you started the rebase.
The post Gerrit Dependency Management with GitEye appeared first on blogs.collab.net.